This guide provides a straightforward process for upgrading or downgrading your VPS plan on fxvm.com, ensuring you can easily adjust your resources to meet your needs.
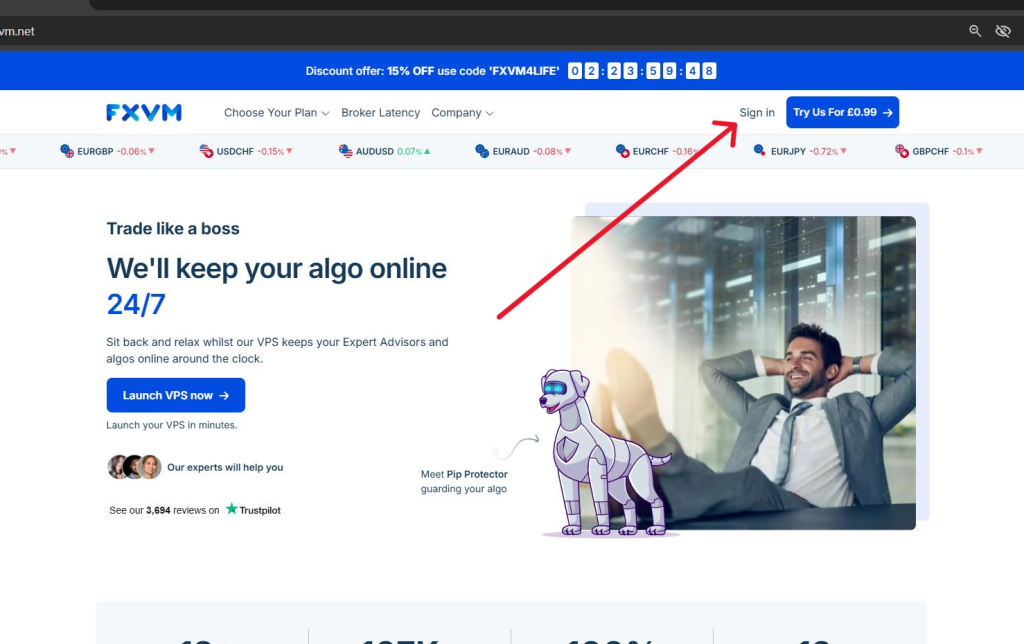
1. Go to fxvm.com main page
Click on Sign In
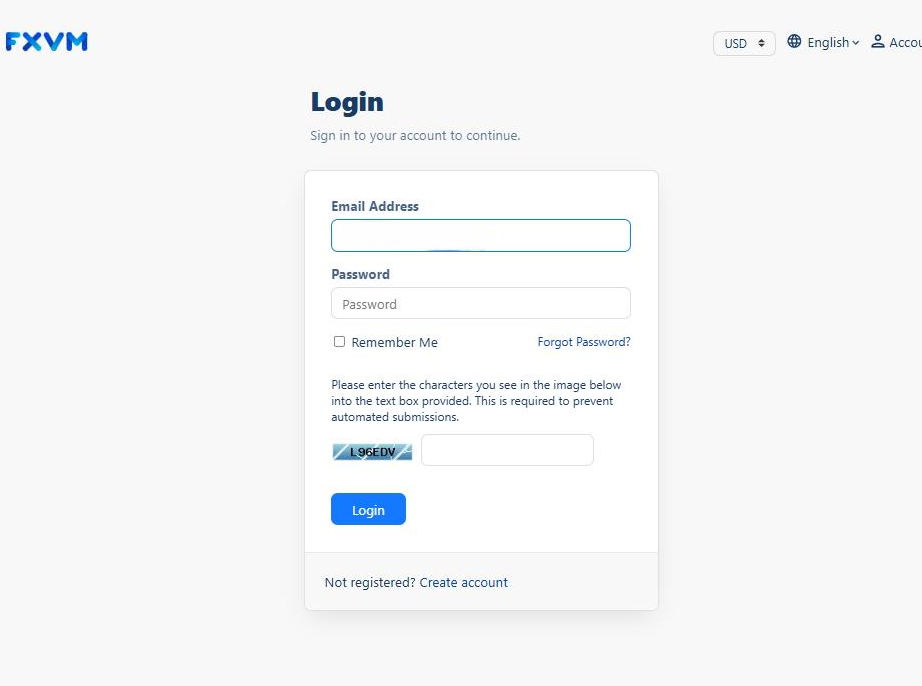
2. Type your Email address and password you used when you registered.
Then input the captcha
Click Login
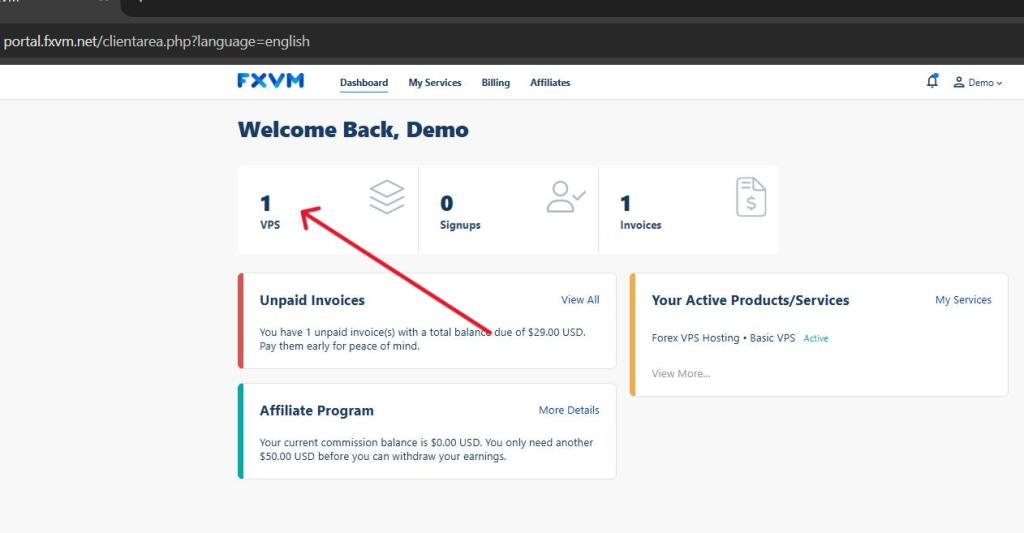
3. Click the VPS tab
4. Click the plan name of the VPS you want to upgrade/downgrade
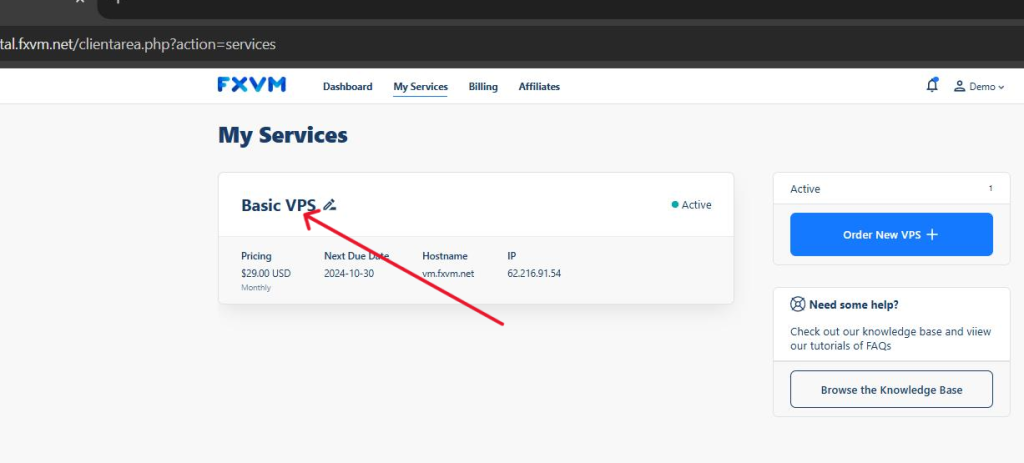
Tip! For multiple plans. You will see the IP address of each VPS below it
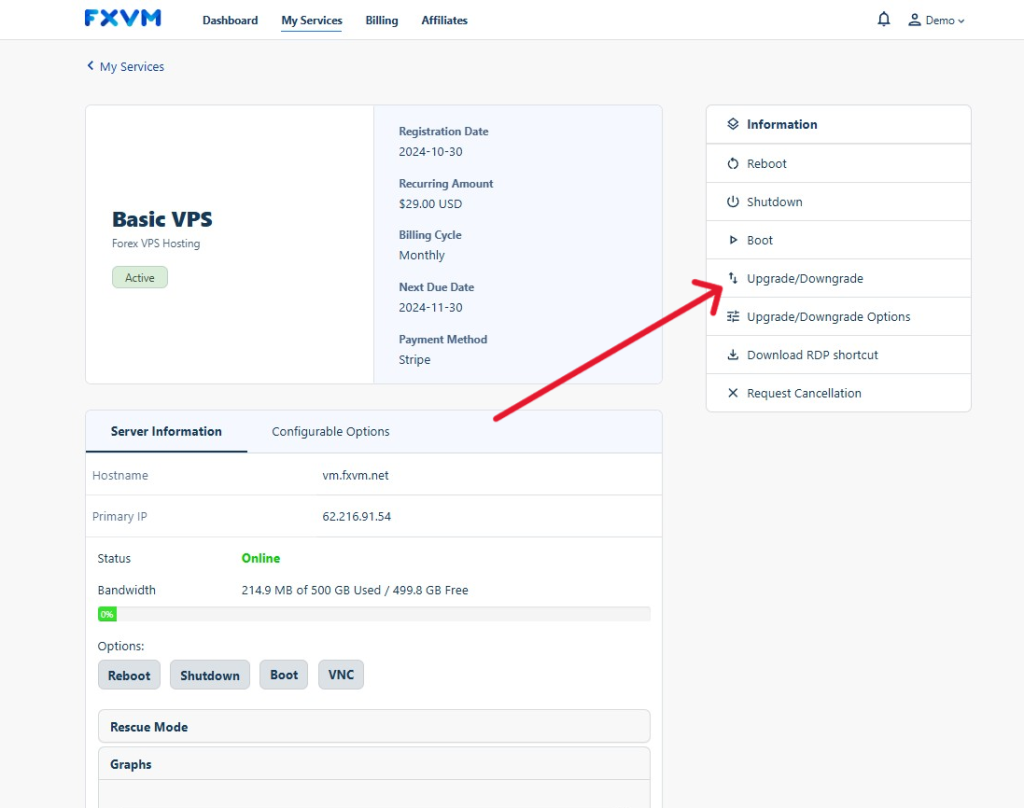
5. To upgrade the whole plan
Click on Upgrade/Downgrade
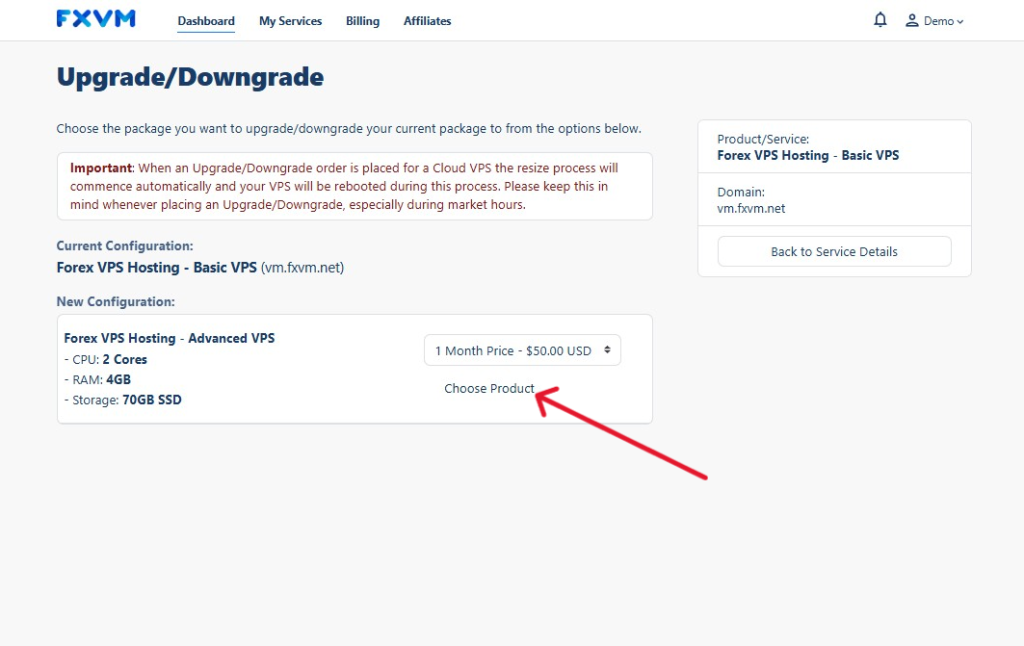
6. You will see the options for available plans you can choose from
Click Choose Product
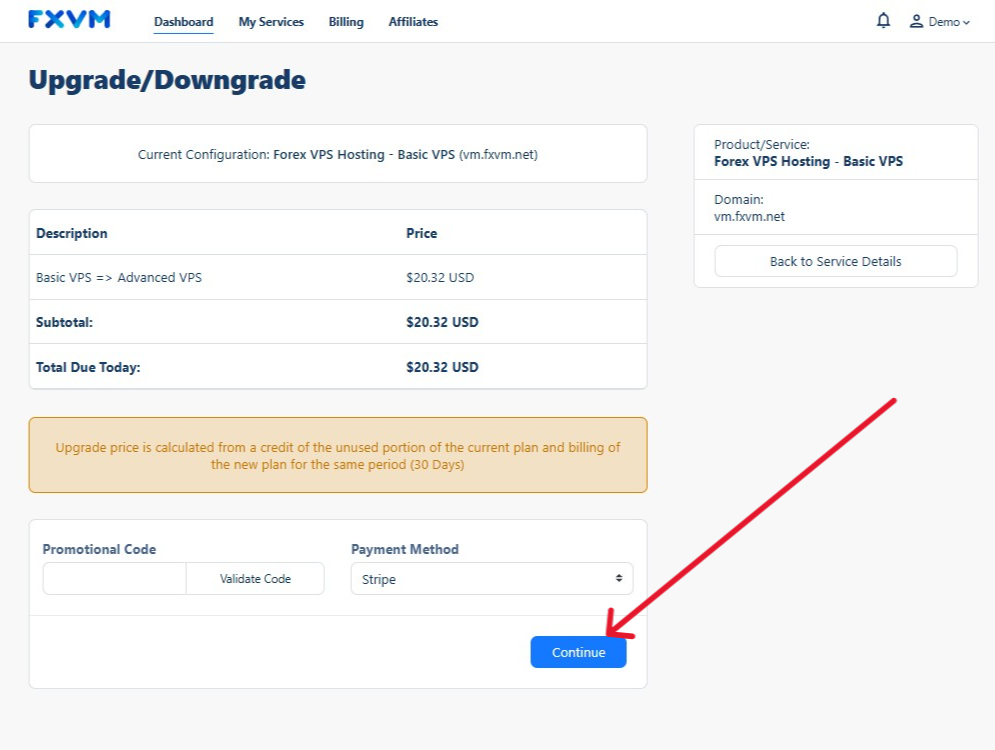
7. Choose the Payment Method
Click on Continue
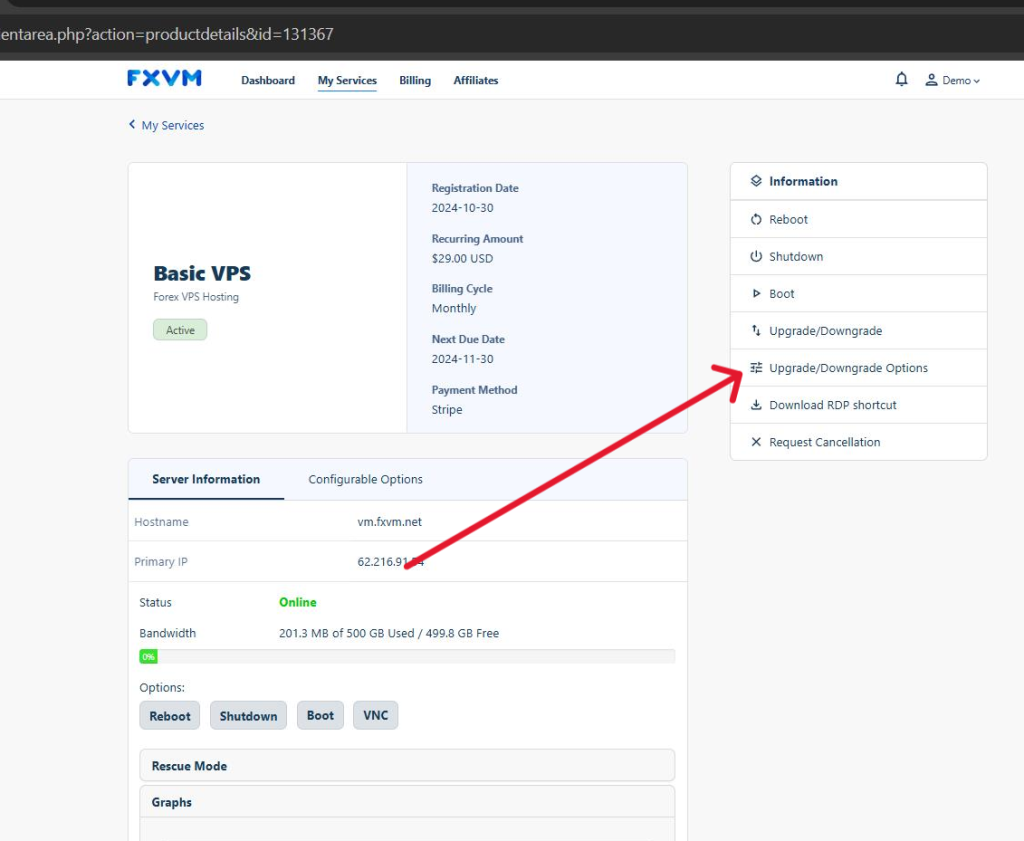
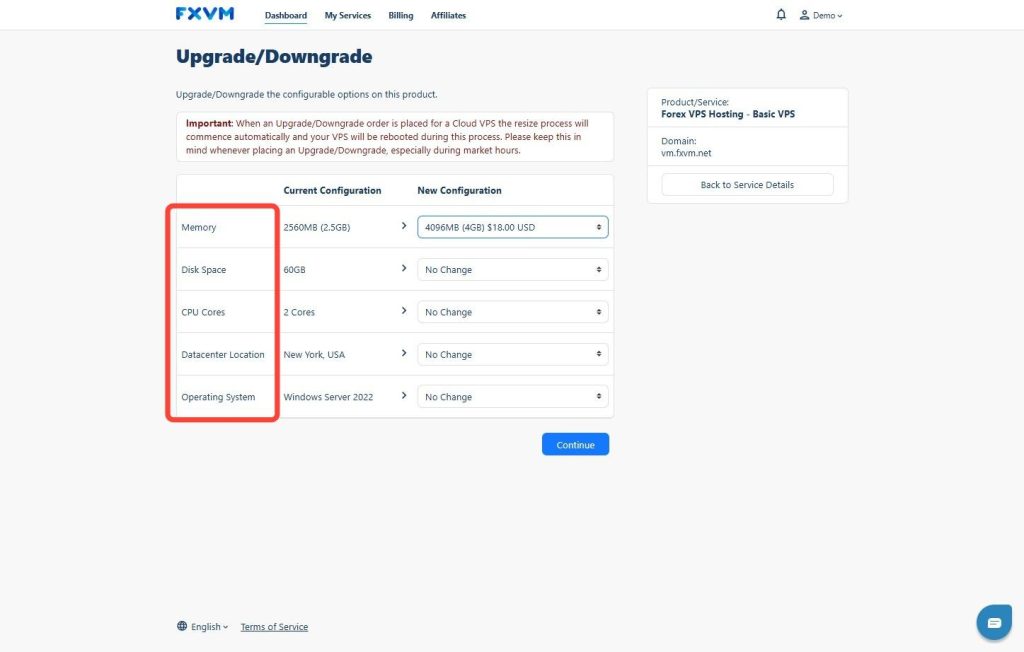
8. To upgrade the specs of your VPS plan
Click on Upgrade/Downgrade Options
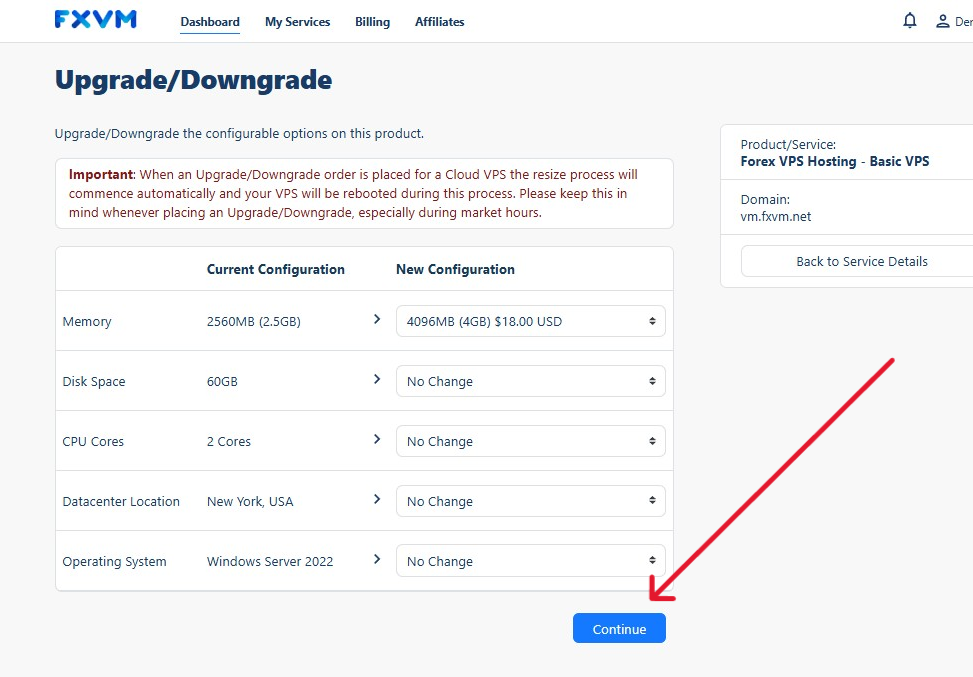
9. Select which specs you want to upgrade
10. Click Continue
11. Choose the Payment Method
Click on Continue

12. On both options, you will need to fill out the payment information and click on Submit Payment to complete the process
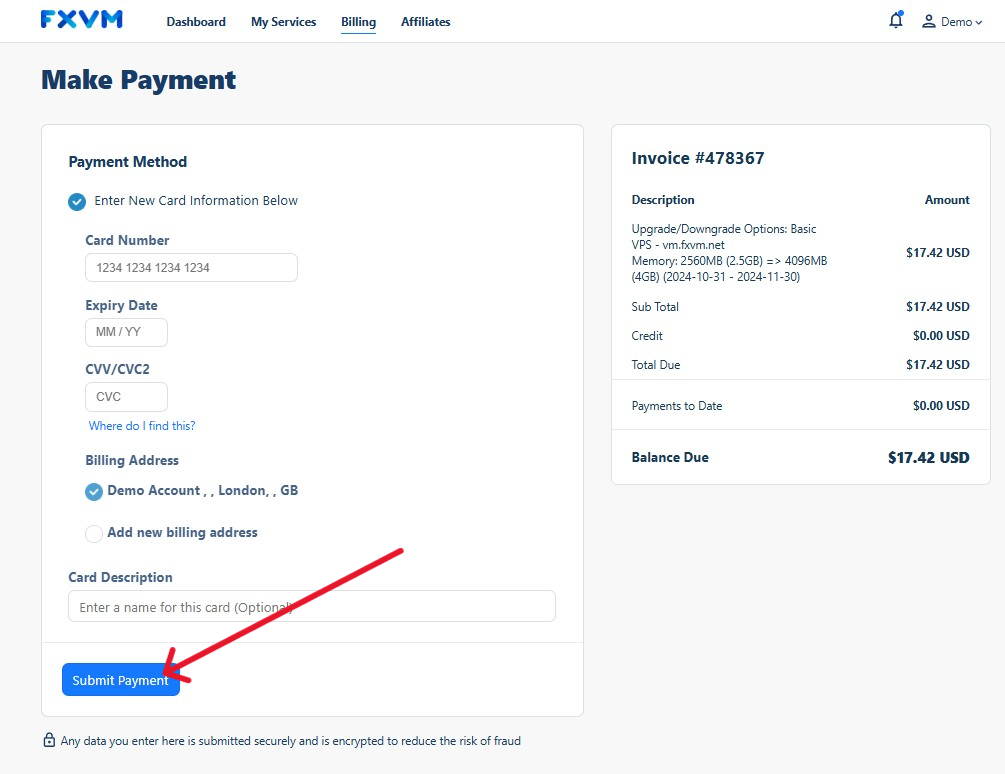
Tip! An notification will be sent to you once successful
You can contact our live chat support team to confirm or apply the changes